




Non-prep ceramic veneers
The tooth stays whole.
LUMIS non-prep ceramic veneers start at 0.1 mm and bond without removing enamel. Made to order for clinics and distributors.
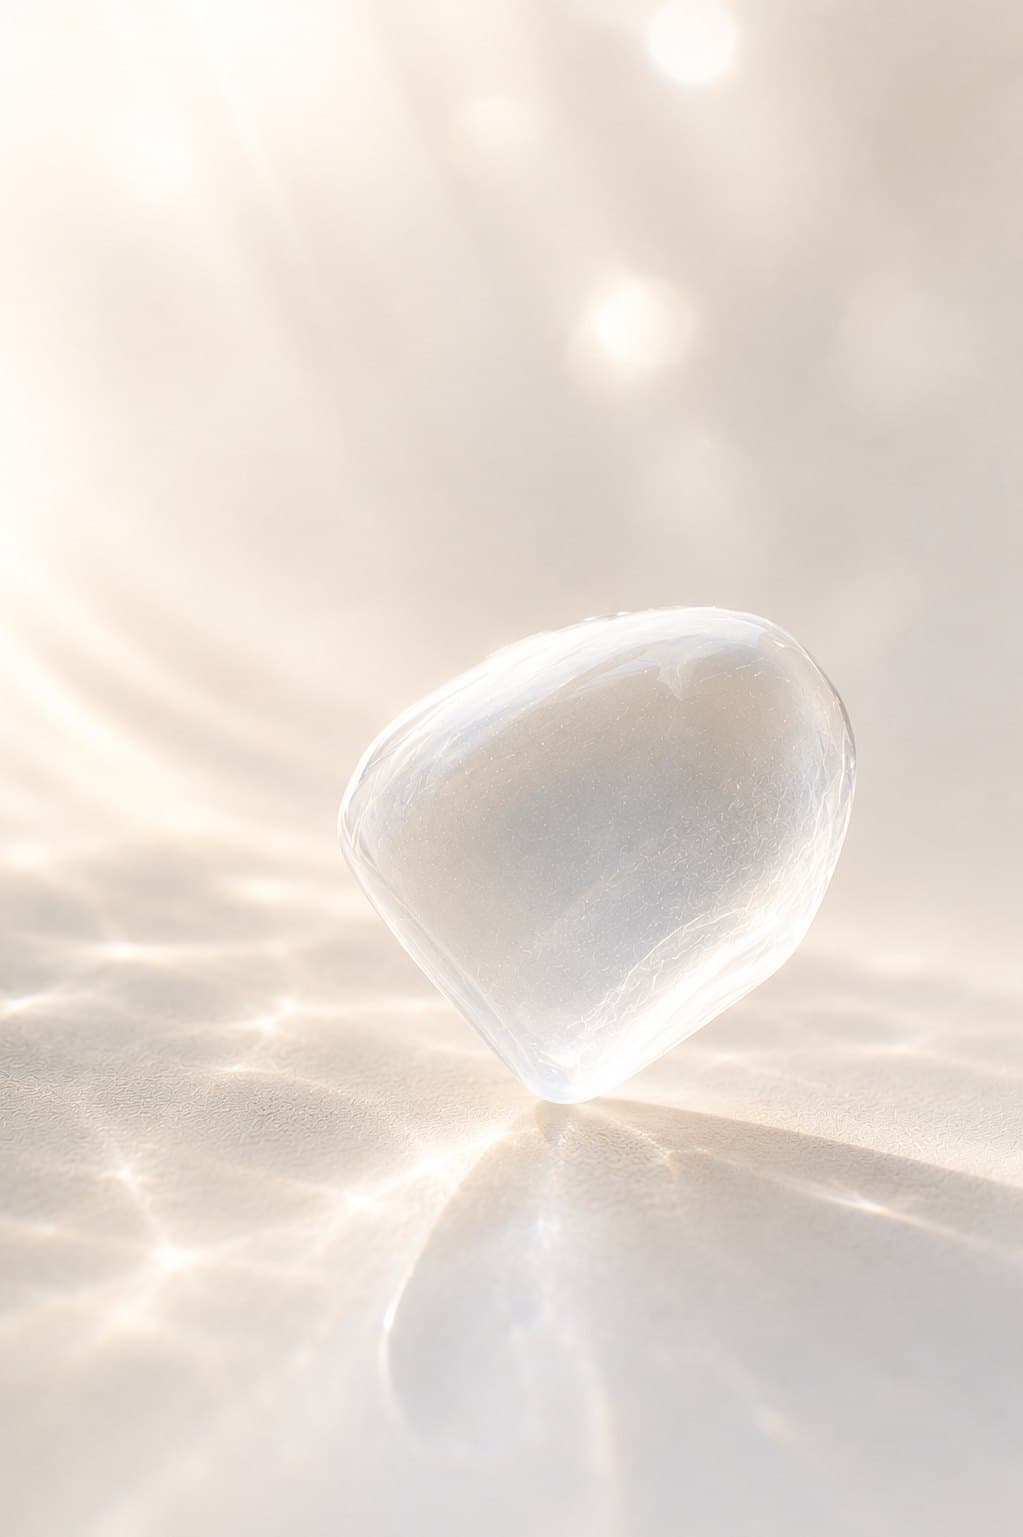
Nothing is taken from the tooth.
A conventional laminate needs room, and that room is made by cutting enamel. A LUMIS veneer is thin enough to bond onto the tooth as it is.
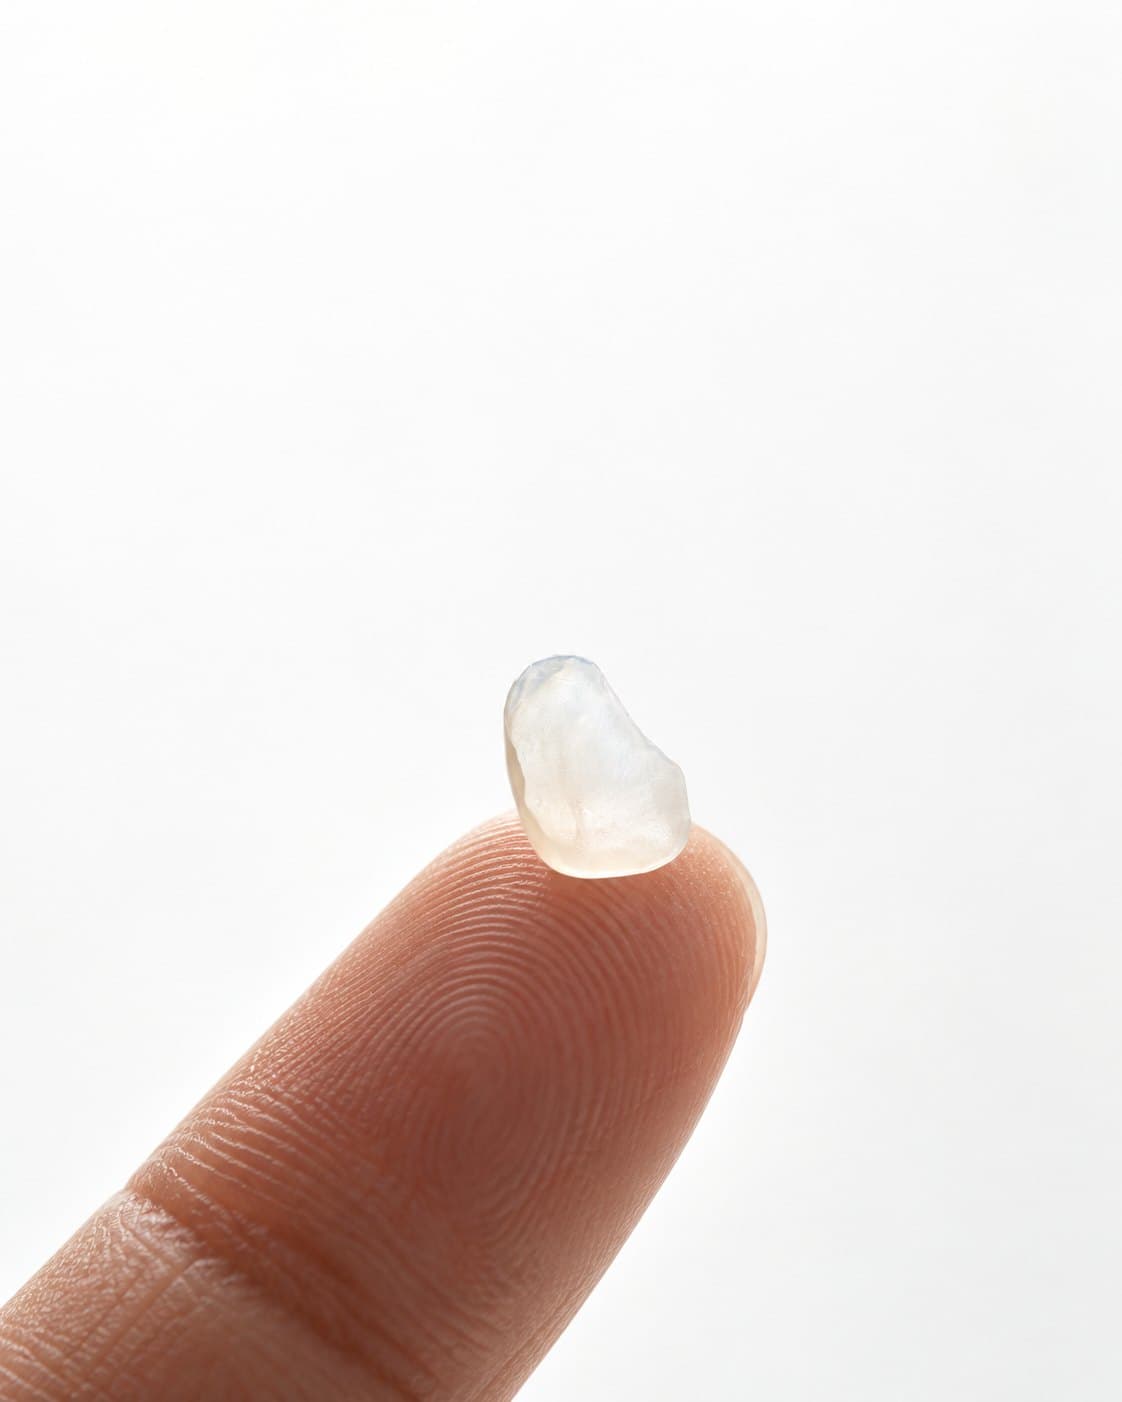
No preparation
The enamel is not ground down to make room. The tooth keeps its original form.
Non-invasive
The shell bonds to the existing surface, so the natural tooth is preserved underneath it.
No anesthesia
With no drilling involved, placement is typically carried out without anesthesia.
A ceramic shell, made for one tooth.
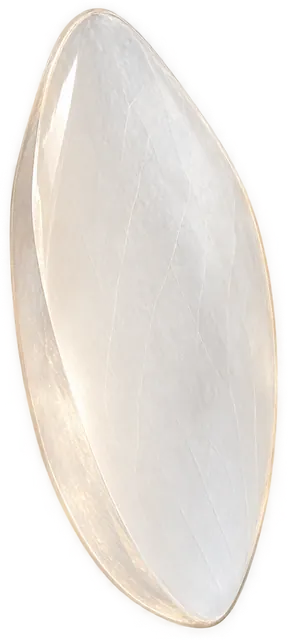
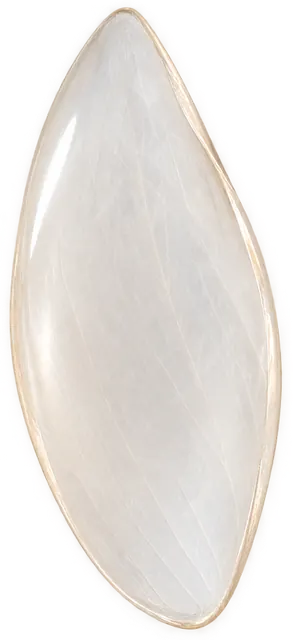
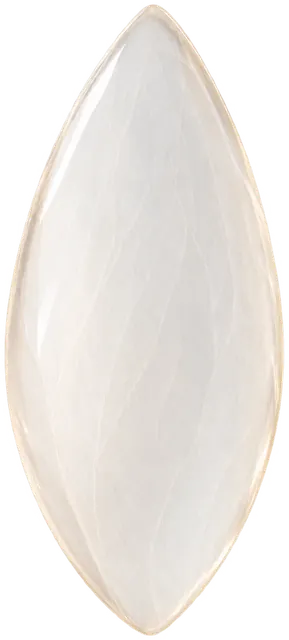
Face on, it carries everything the patient will see: shade, translucency and surface texture.
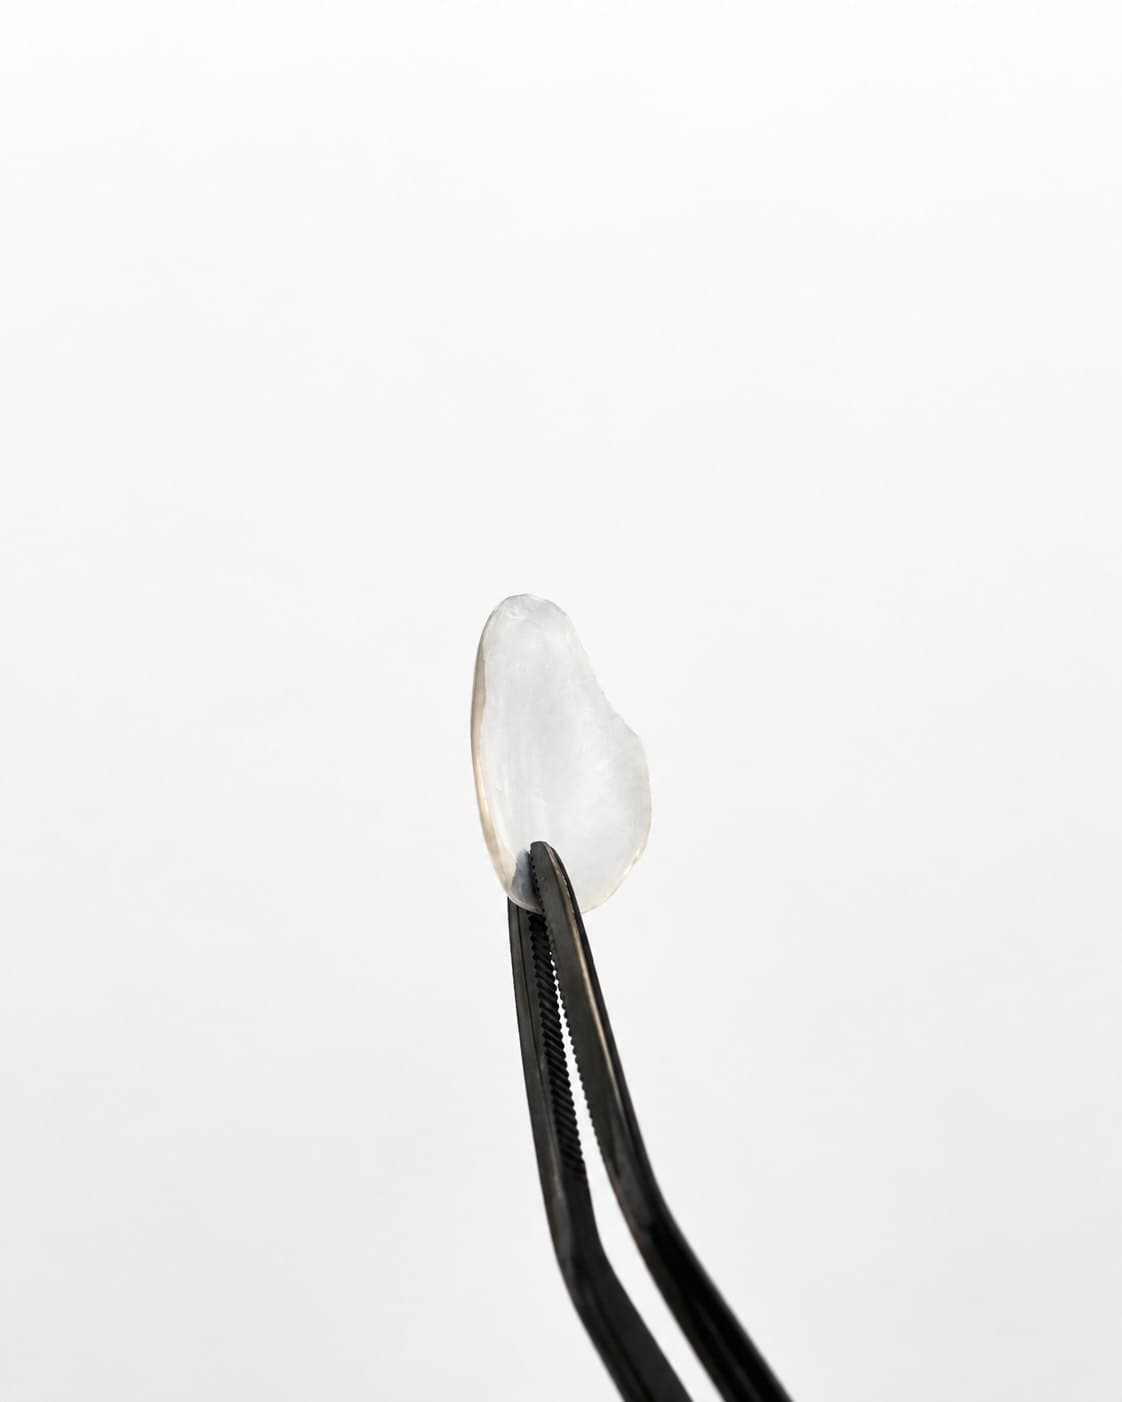
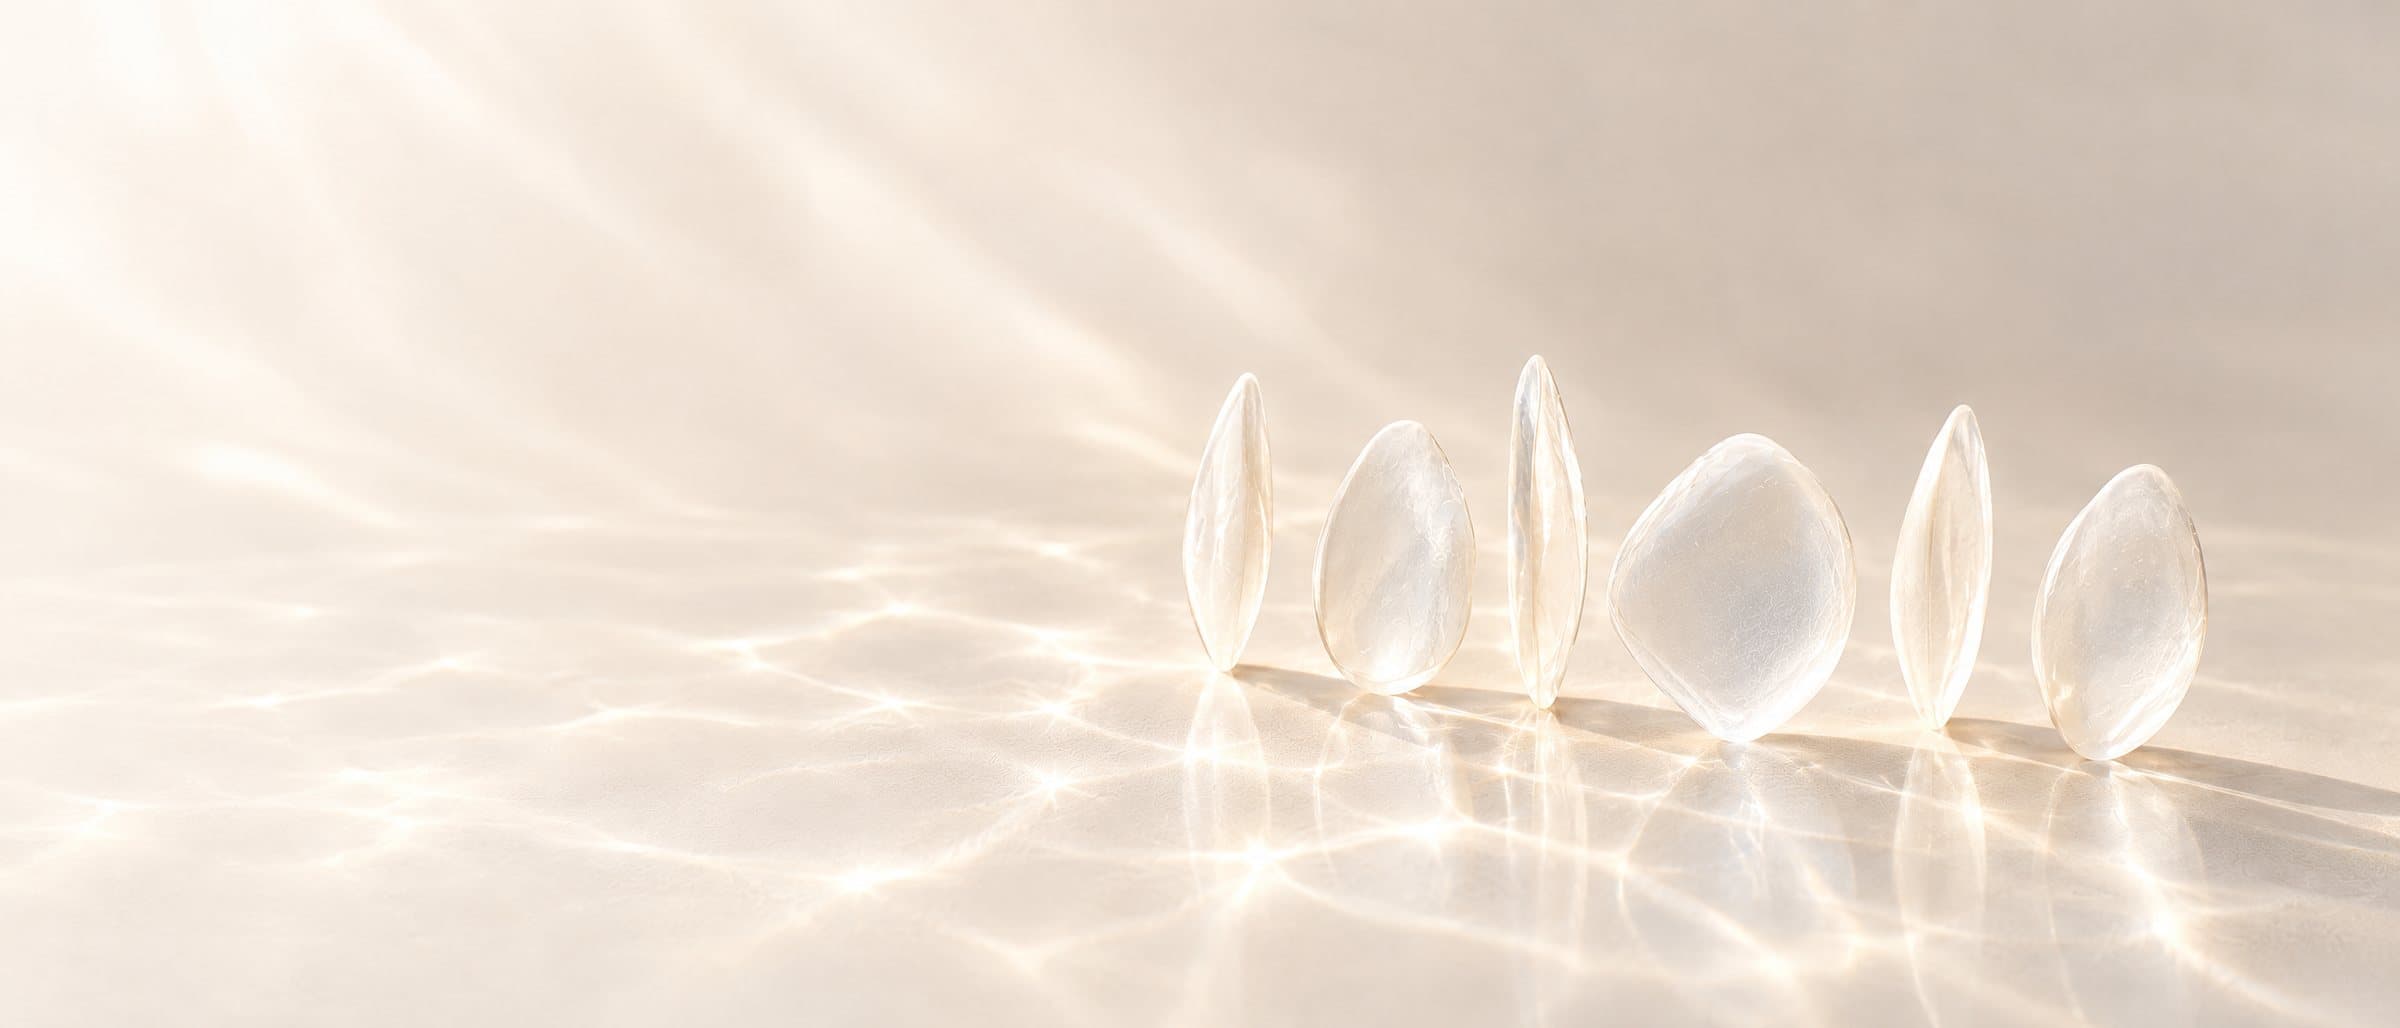
Turn it sideways and it almost disappears.
Edge on, the shell is about as thin as a sheet of paper.
0.1 mm
Minimum thickness. The shell sits on the enamel and adds very little to the tooth.
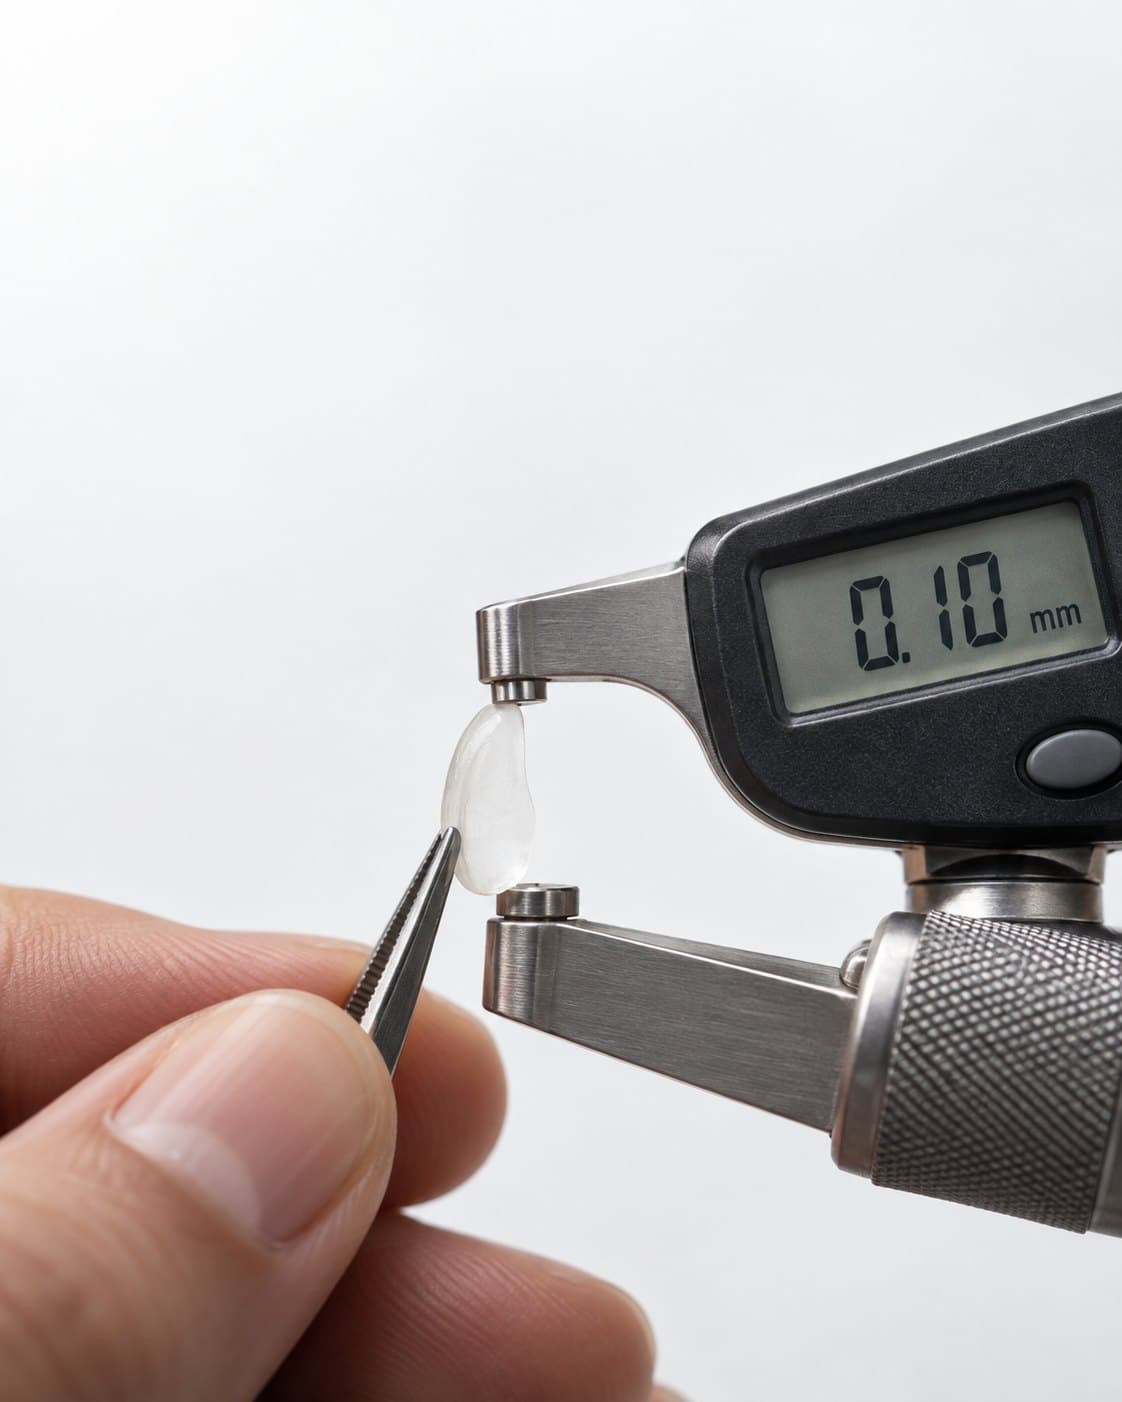
0.10 mm on the micrometer.
The reading for the shell in this photograph.
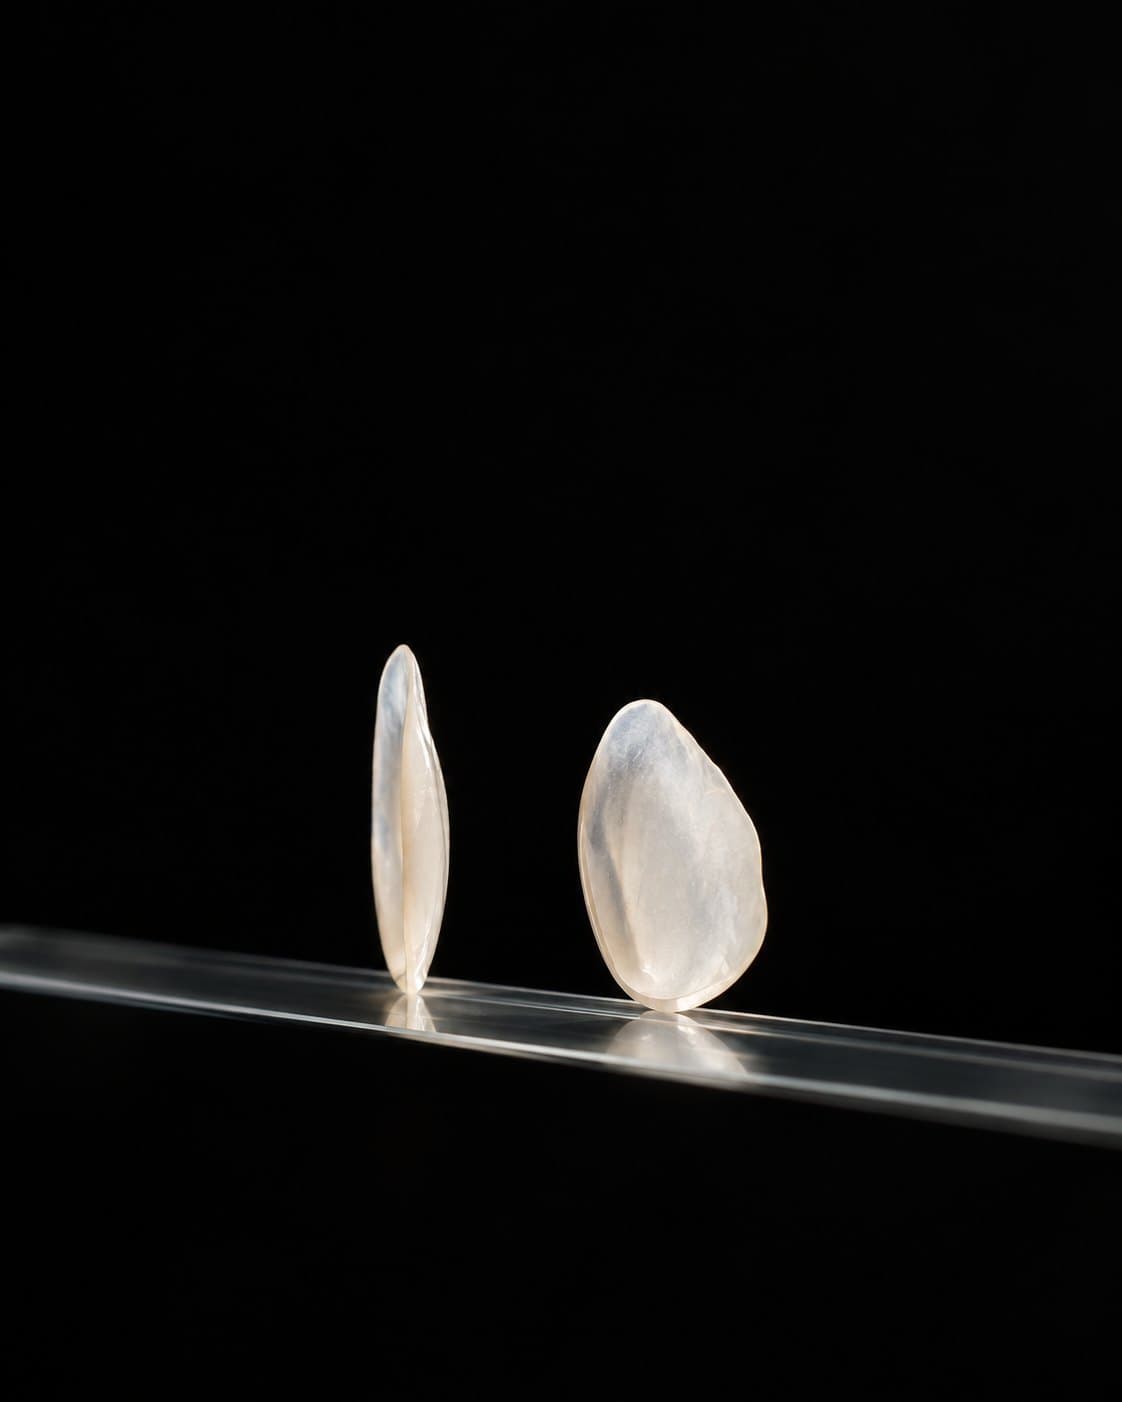
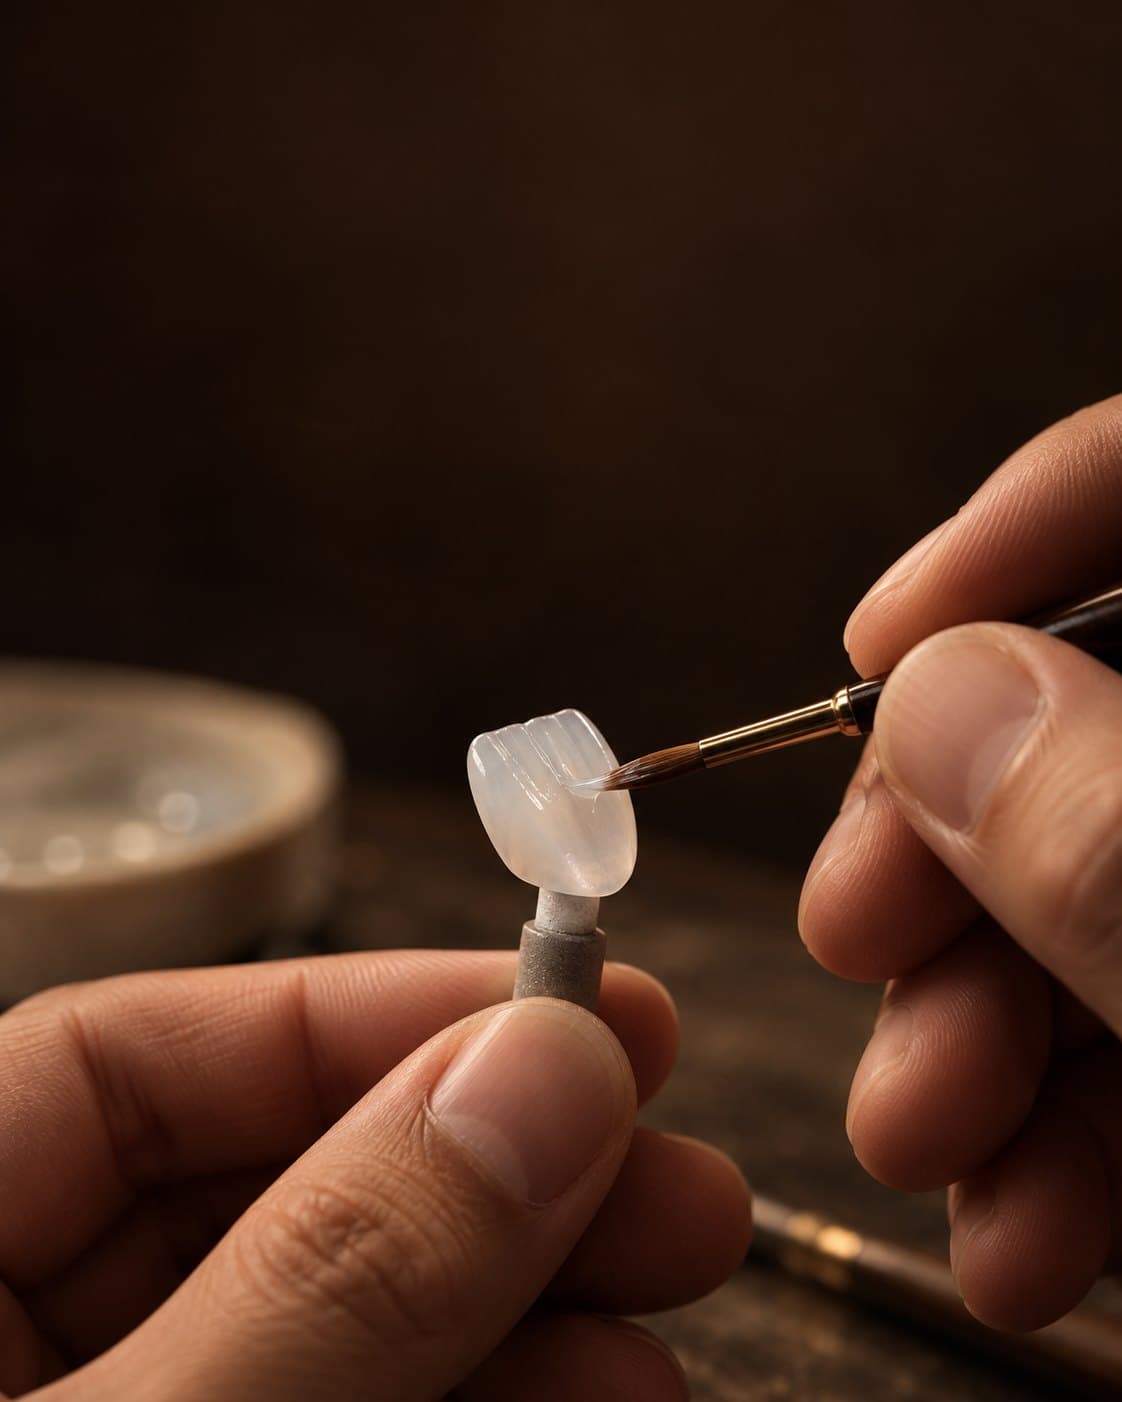
Finished by hand, 0.01 mm at a time.
Pressing gives the shell its strength. The fit and the lifelike surface come from the ceramist's hand.
- Surface work by hand in 0.01 mm steps
- Structure designed for a close fit to the tooth
- Natural surface texture recreated
- Finishing that brings out translucency and gloss
- Every finished veneer checked one by one
From intraoral scan to finished veneer.
Digital design, pressed ceramic and hand finishing, in five stages.
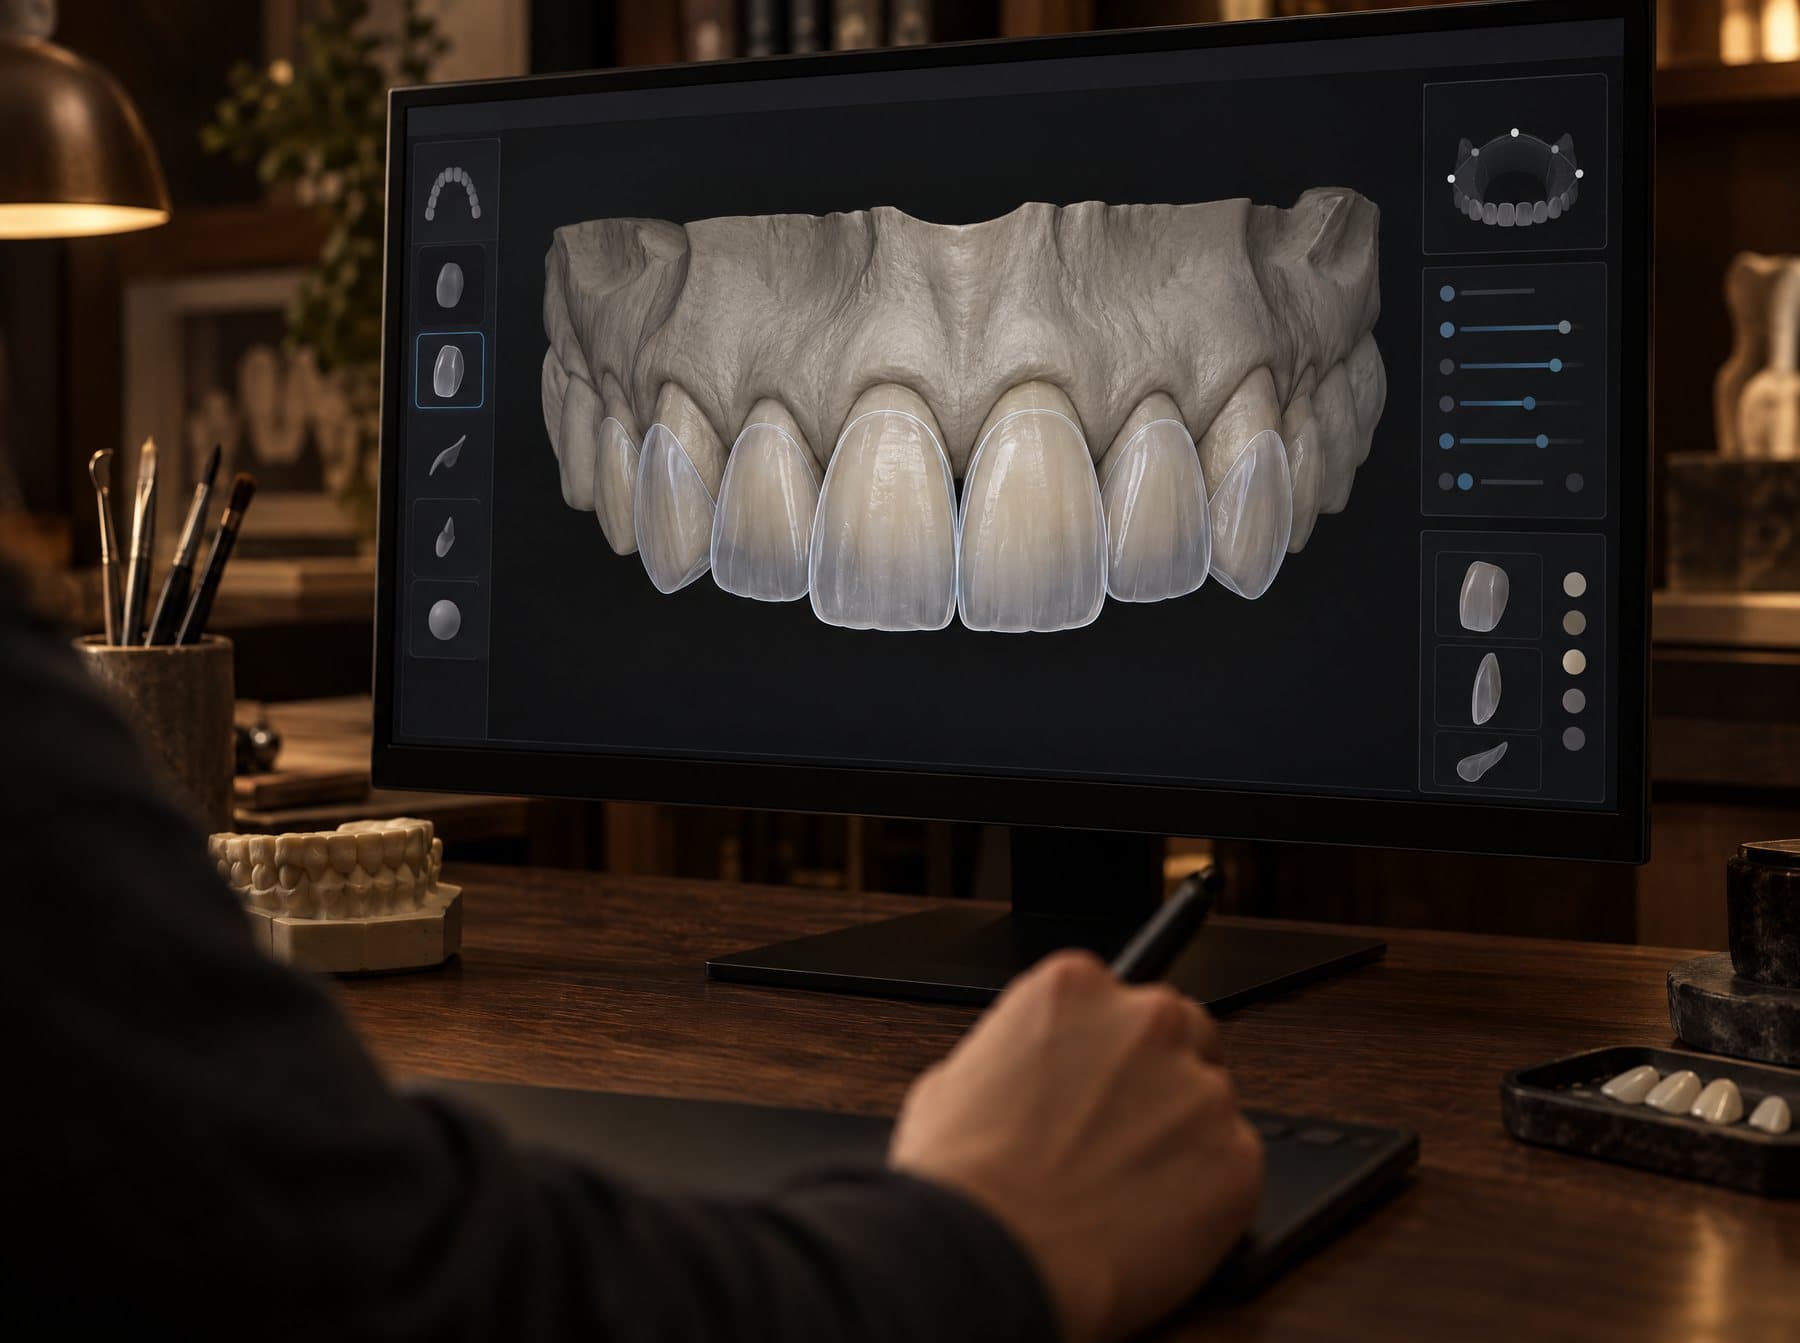
Digital design
The clinic's intraoral scan is opened in exocad. Gum line, smile line and facial proportions are analyzed, and each veneer is designed for that patient.
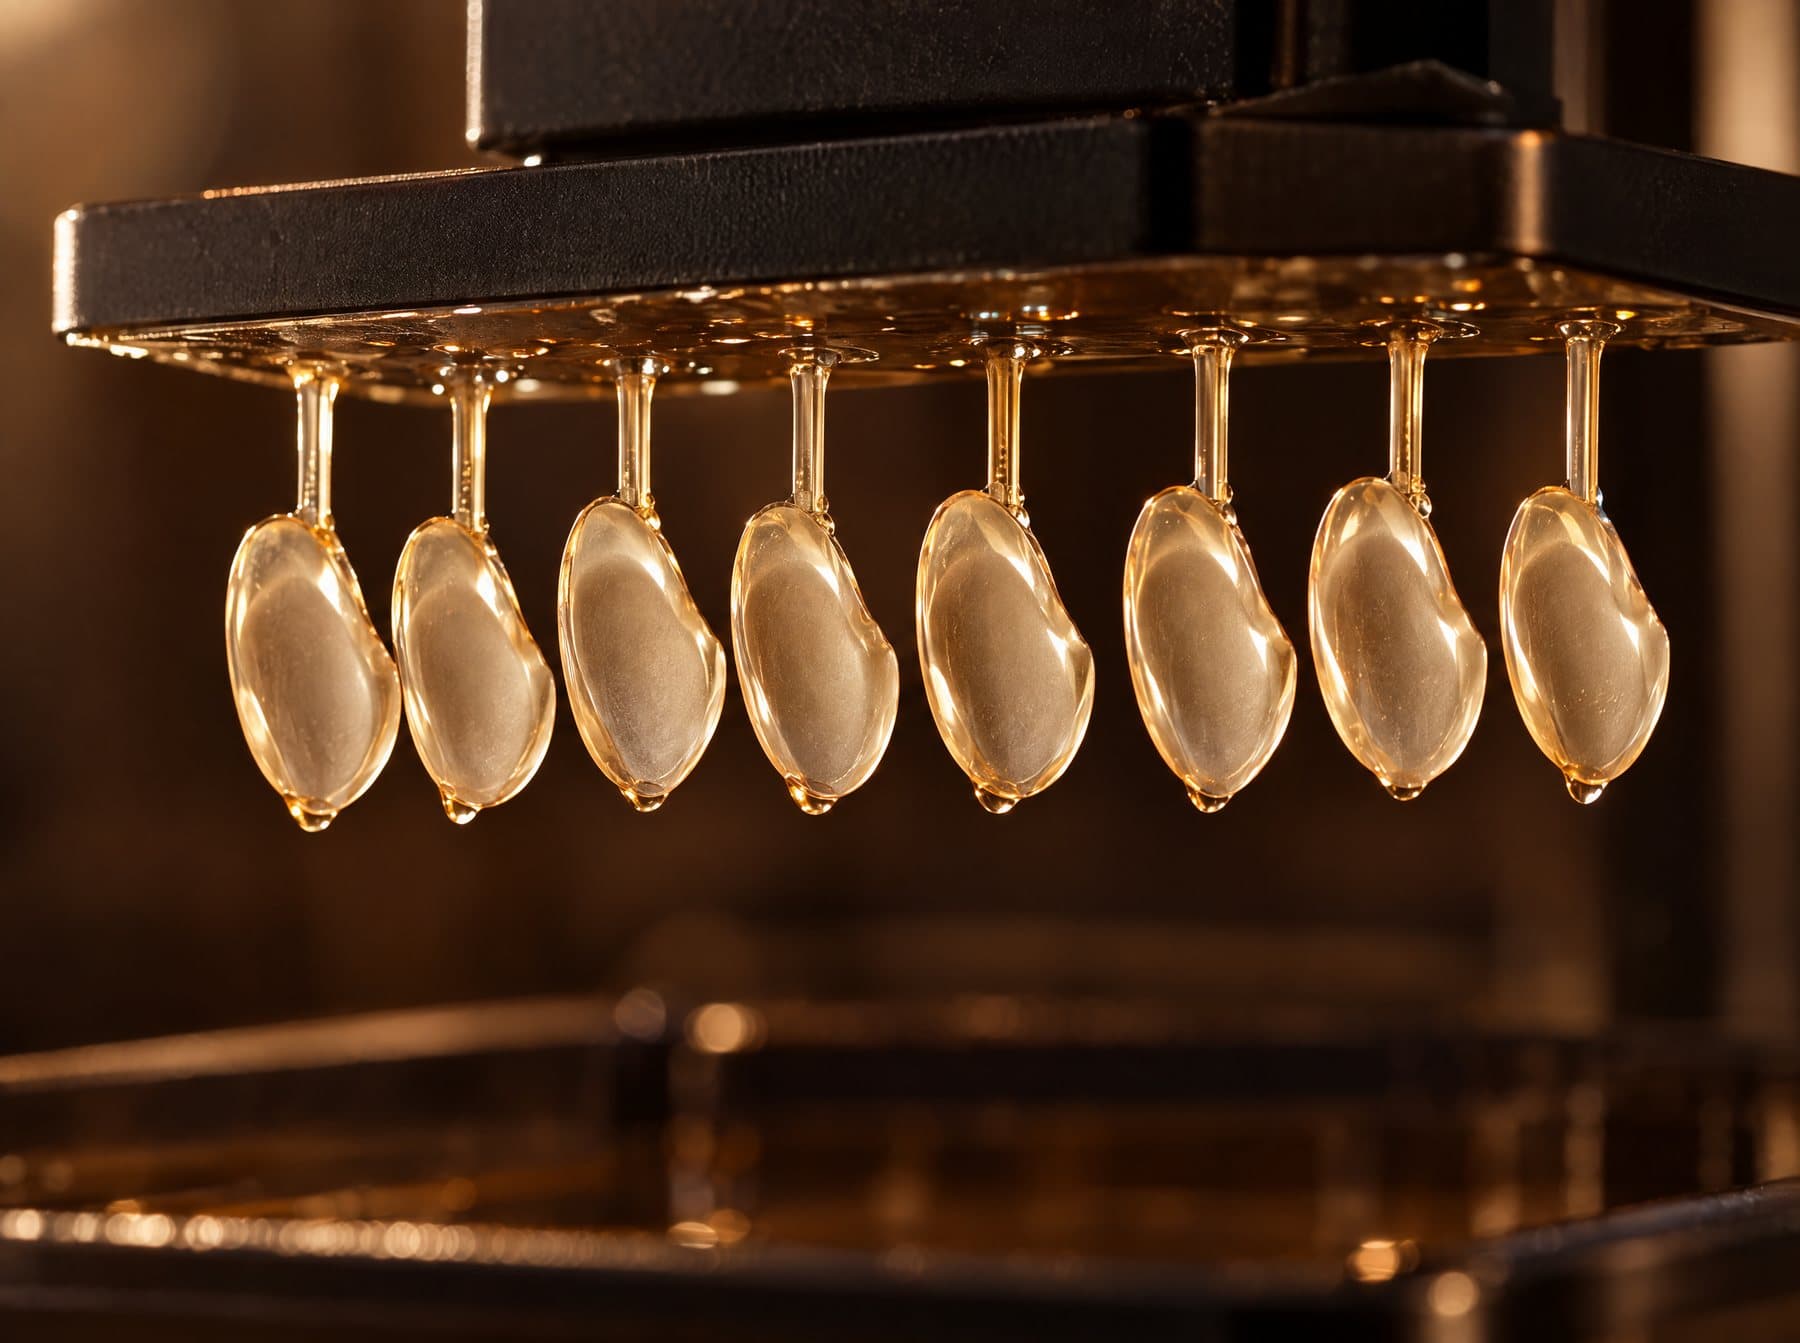
High-resolution 3D printing
The design is printed layer by layer in a pattern resin chosen for dimensional stability. The pattern is about as thin as a sheet of paper.
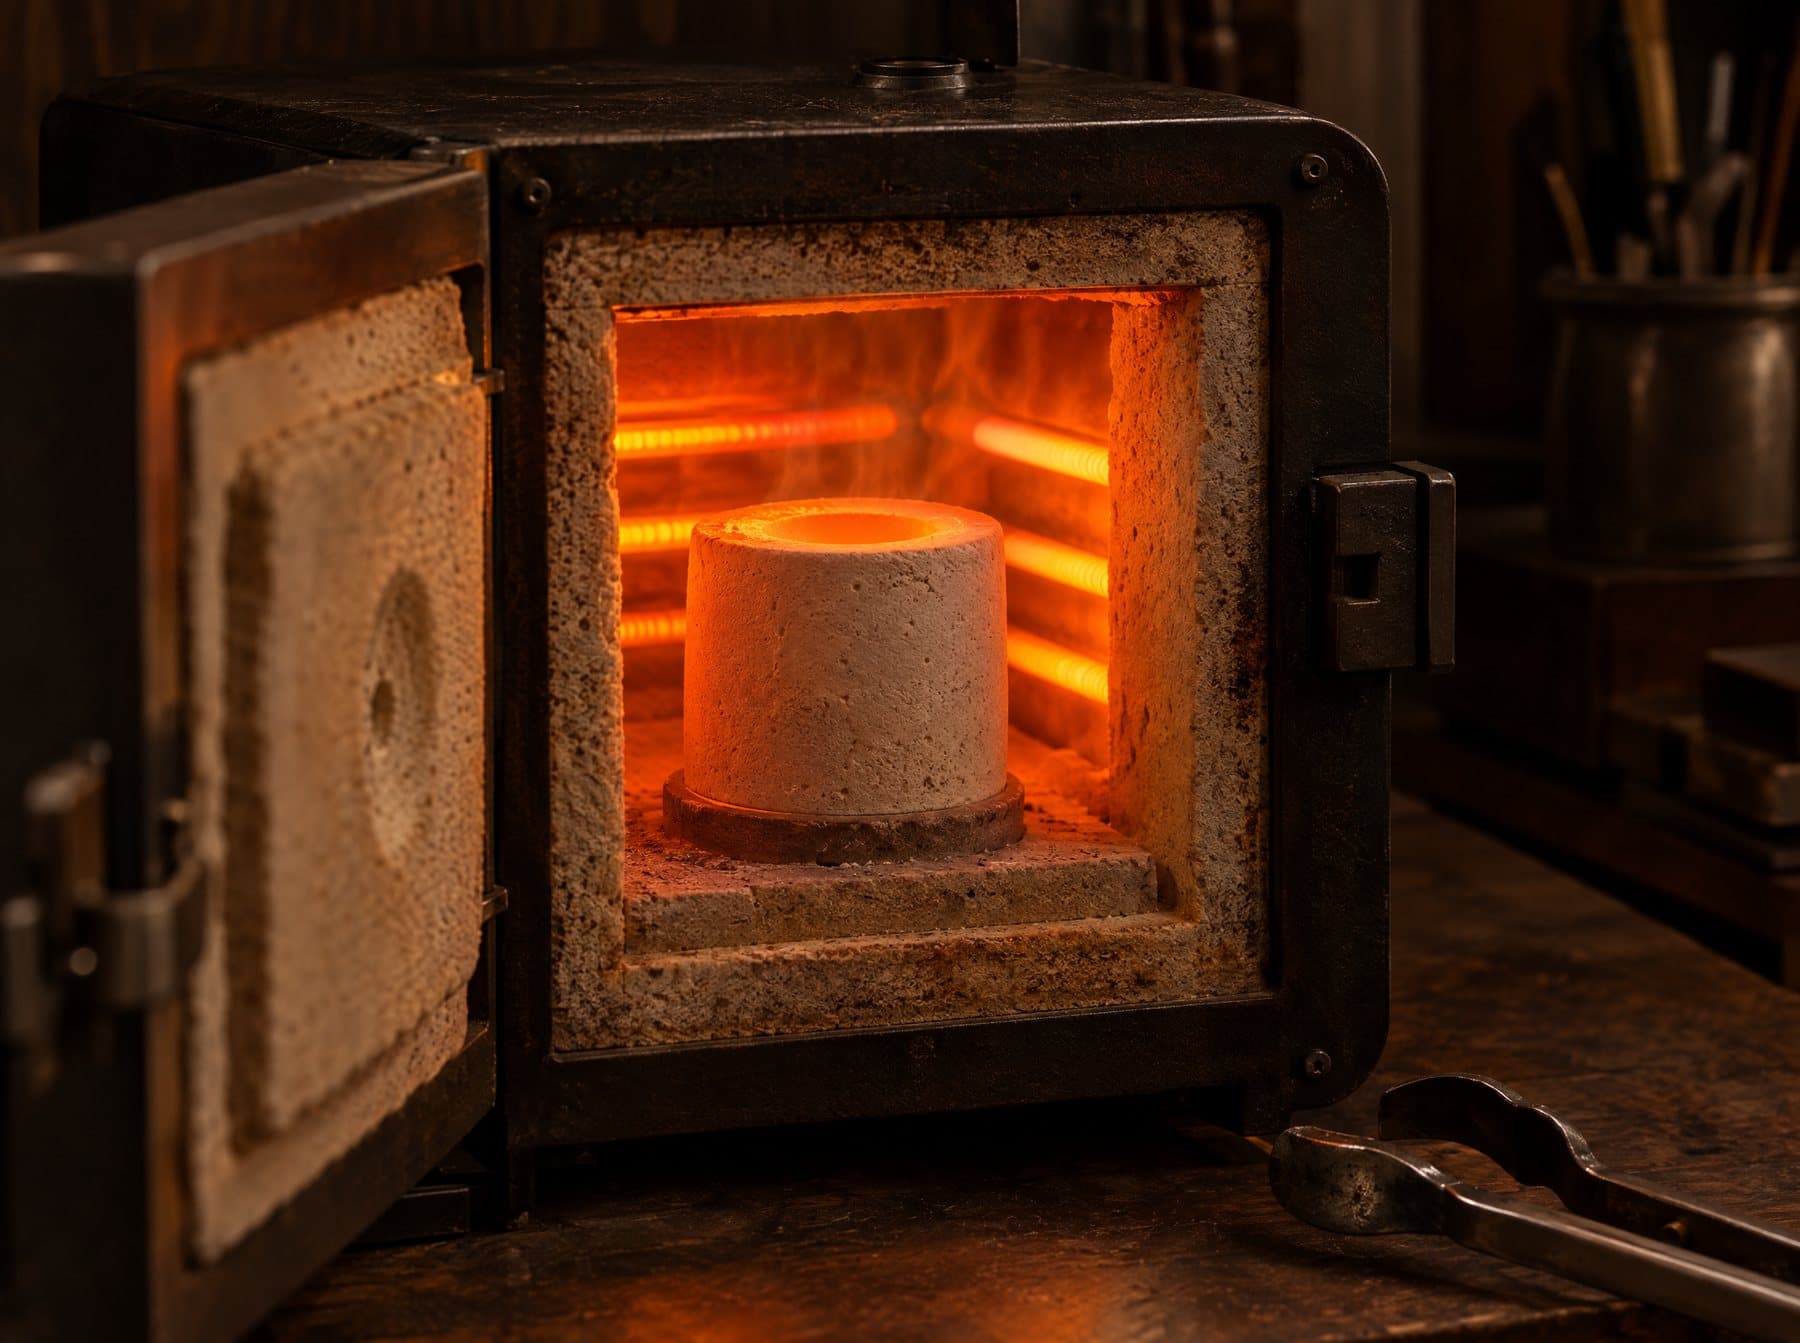
Investing and burnout
The printed pattern is embedded in refractory investment. In the furnace the resin burns out completely, leaving a cavity in the exact shape of the designed veneer.
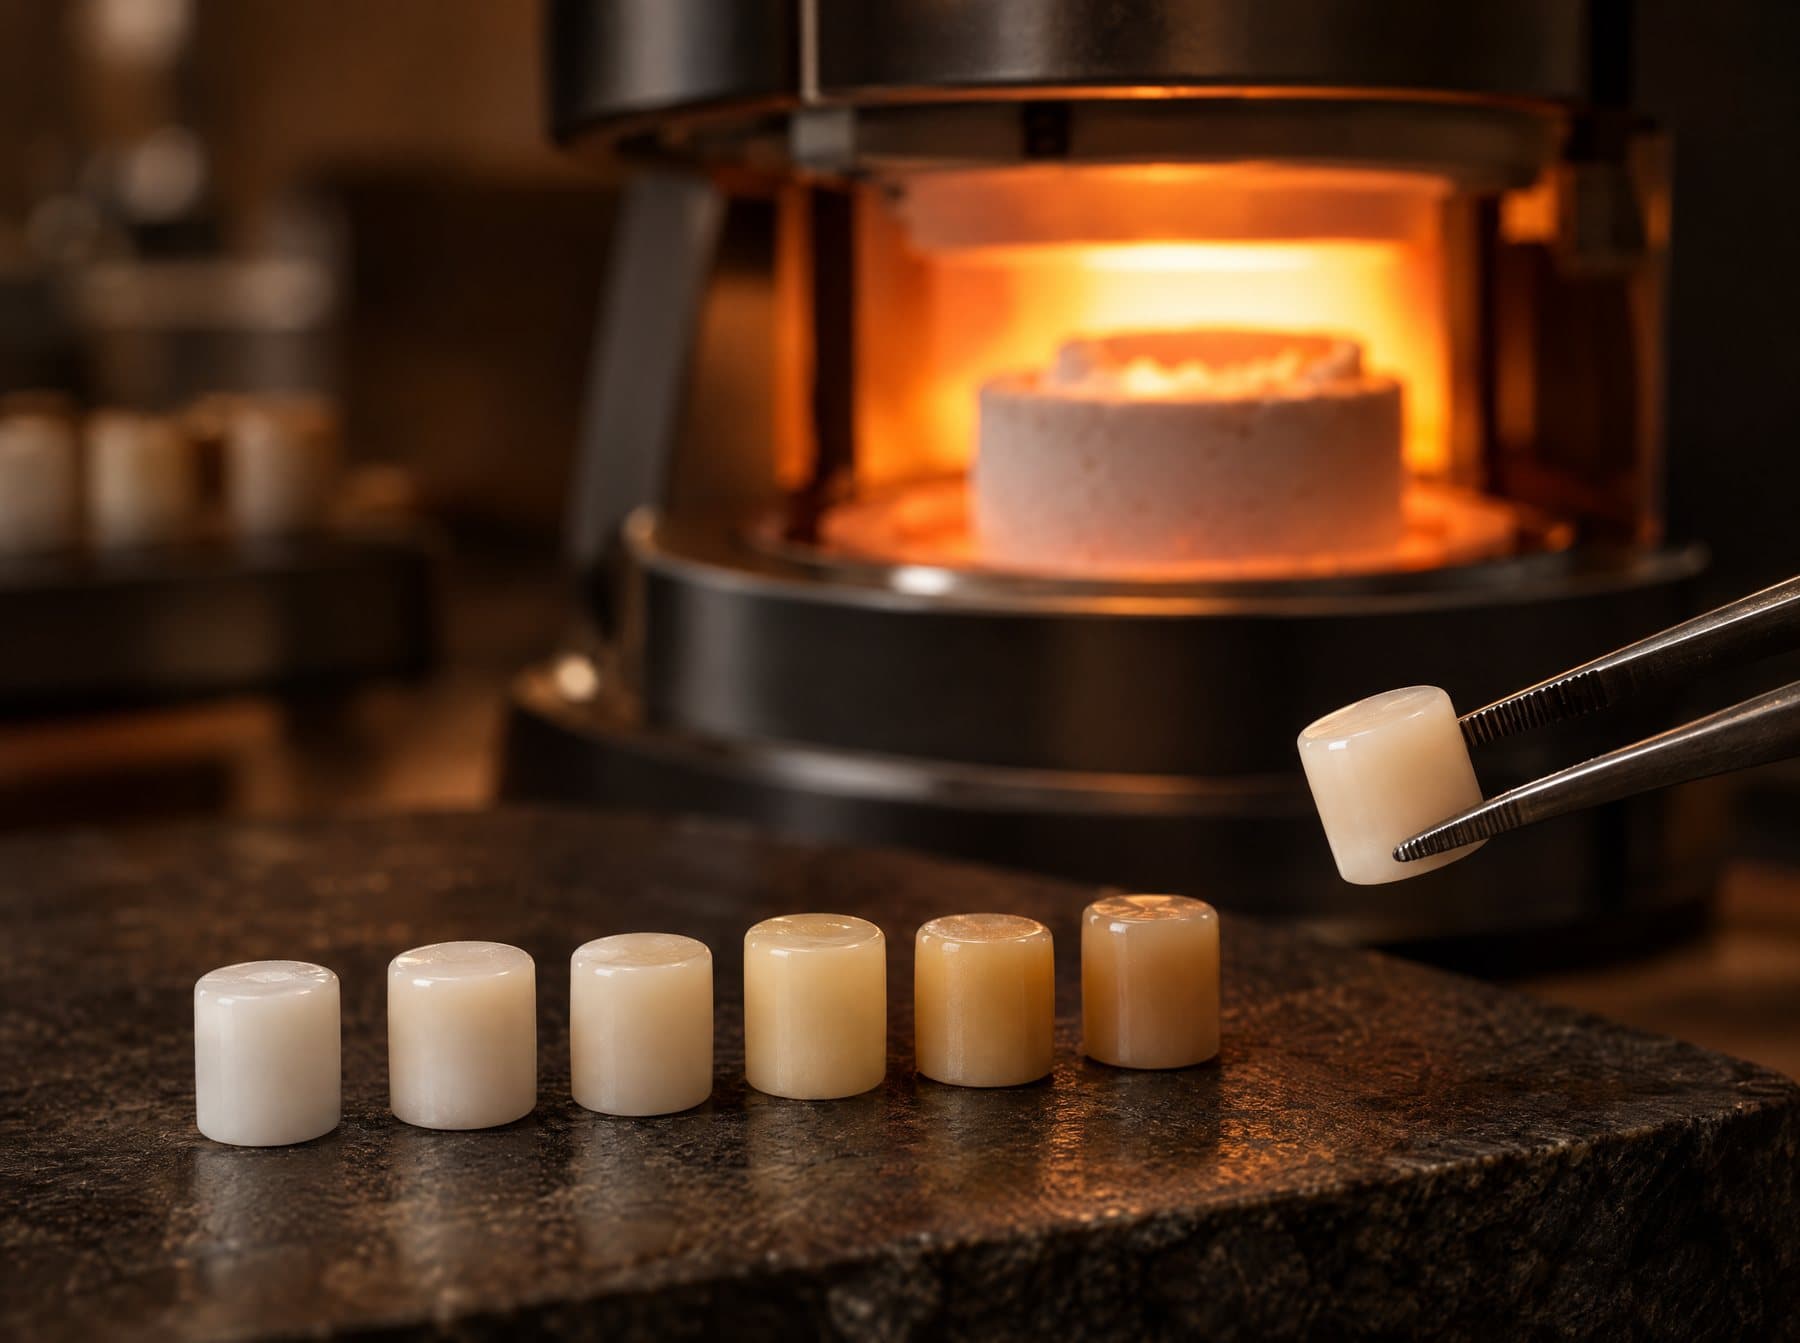
Pressing
A ceramic ingot is chosen for the patient's shade, translucency and any discoloration to be masked. It is heated above 900°C and pressed into the mold under pressure.
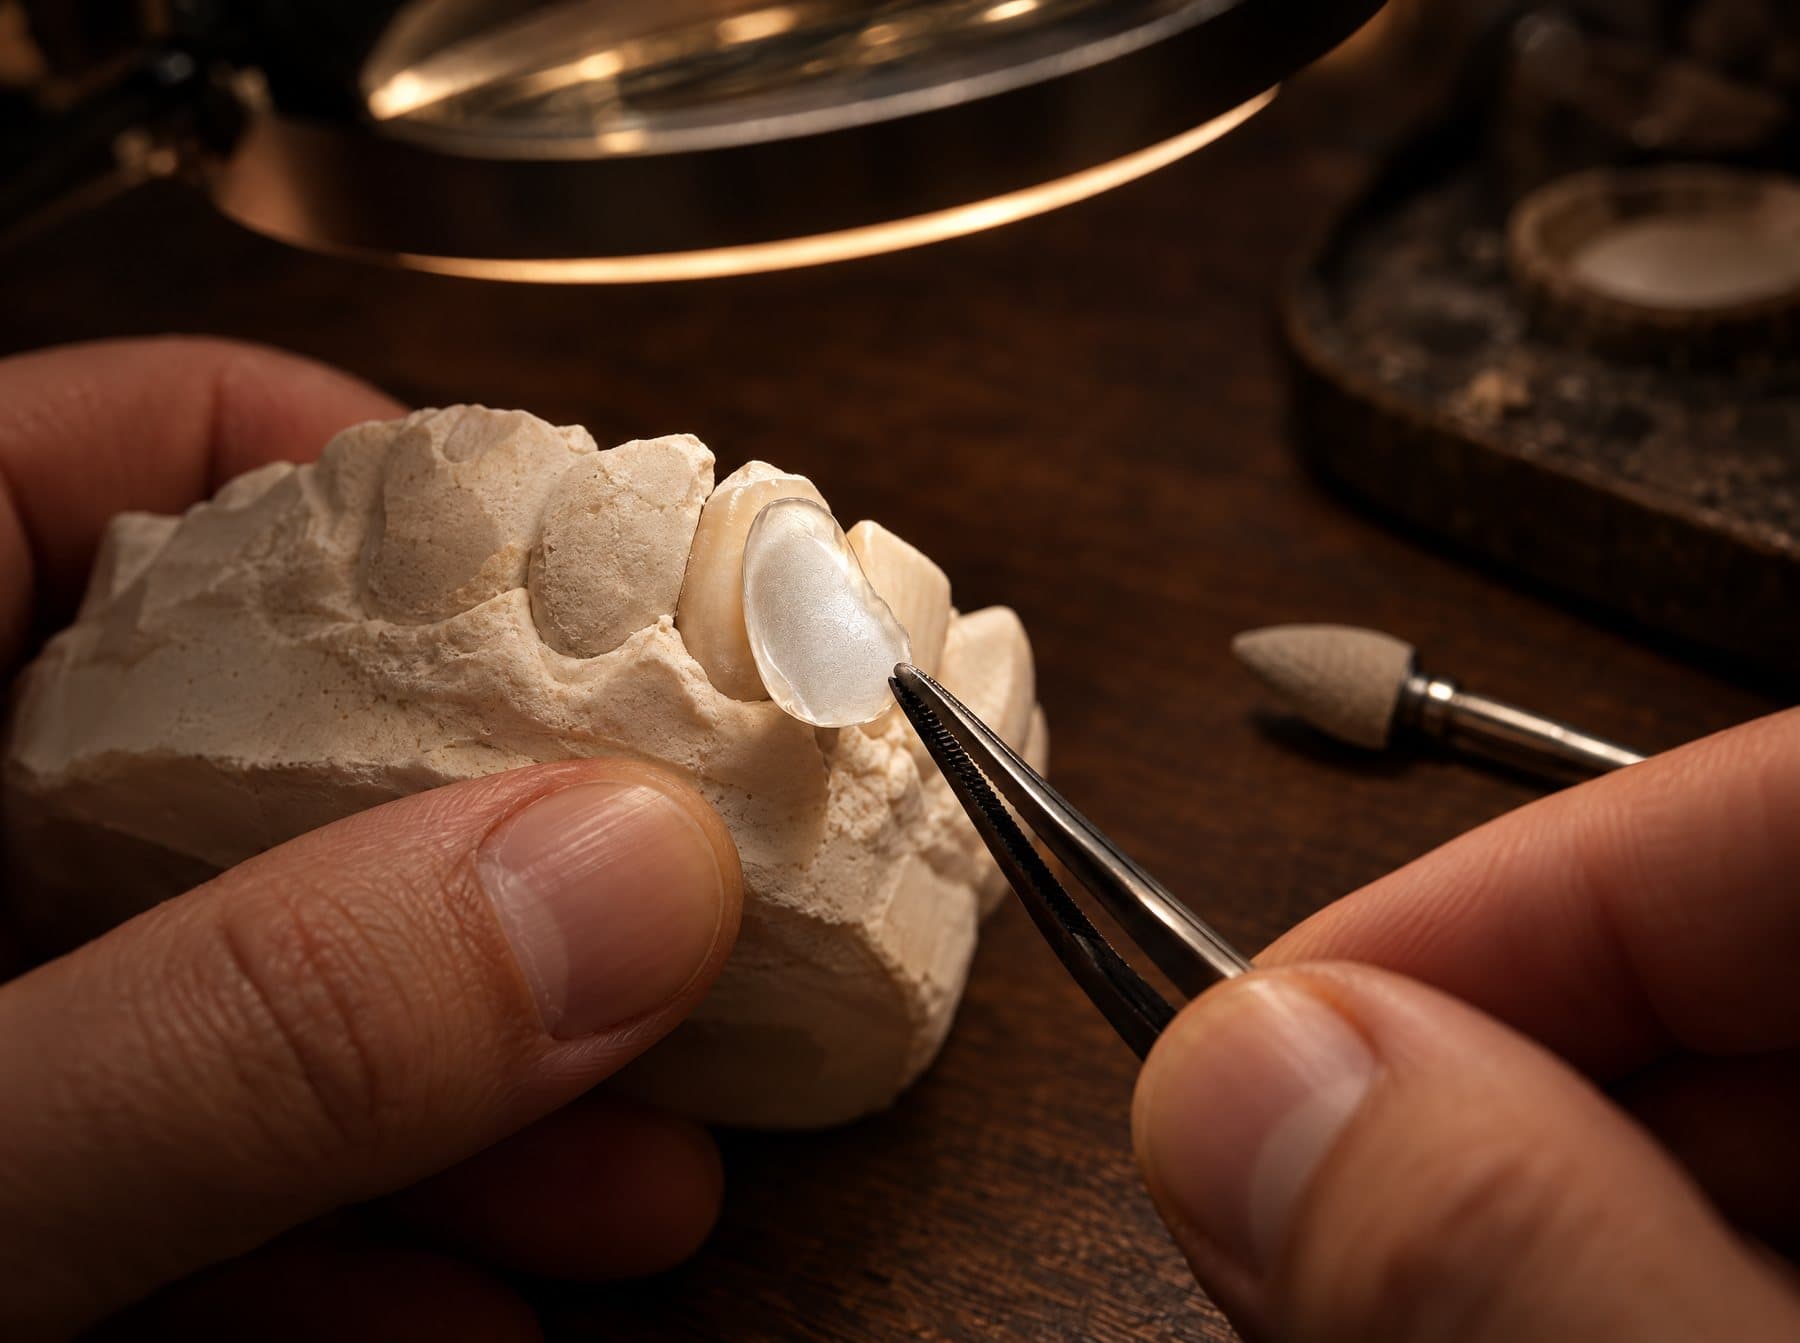
Fitting and finishing
Margins are adjusted by hand on the model until the veneer sits closely against the tooth. The surface is then finished to the translucency and gloss of natural enamel.
Process images are illustrative.
Where a LUMIS veneer fits.
Options for improving esthetics while preserving the natural tooth.
Suitability is assessed case by case from alignment, occlusion, shade and the thickness required.
Spaces
Closing gaps between the front teeth.
Microdontia
Building undersized teeth up to a natural proportion.
Fractured teeth
Restoring chipped or fractured incisal edges.
Tooth color
Improving shade where discoloration needs masking.
Smile line
Evening out the incisal line across the smile.
White spots
Covering white spots on the enamel surface.
Shape and proportion
Correcting tooth form and the ratio of width to length.
Clinical cases
Each image shows the same patient before (top) and after (bottom) LUMIS veneers.
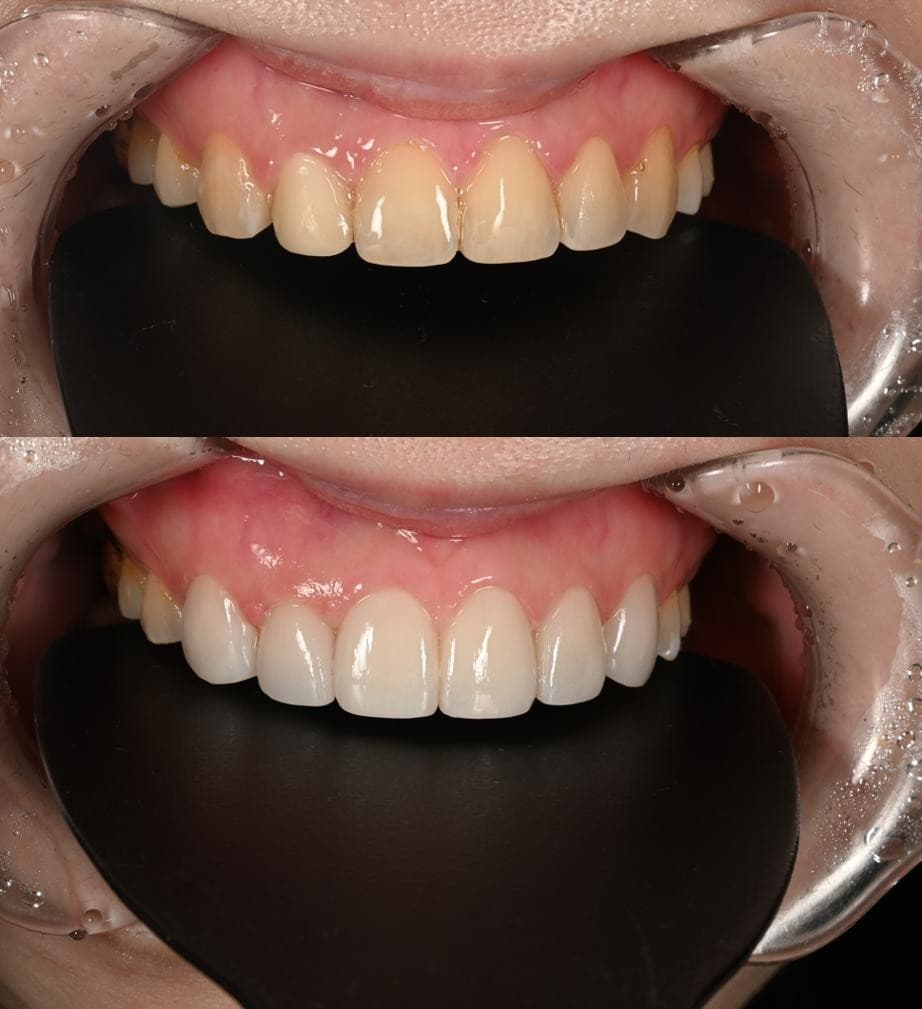
Case 1 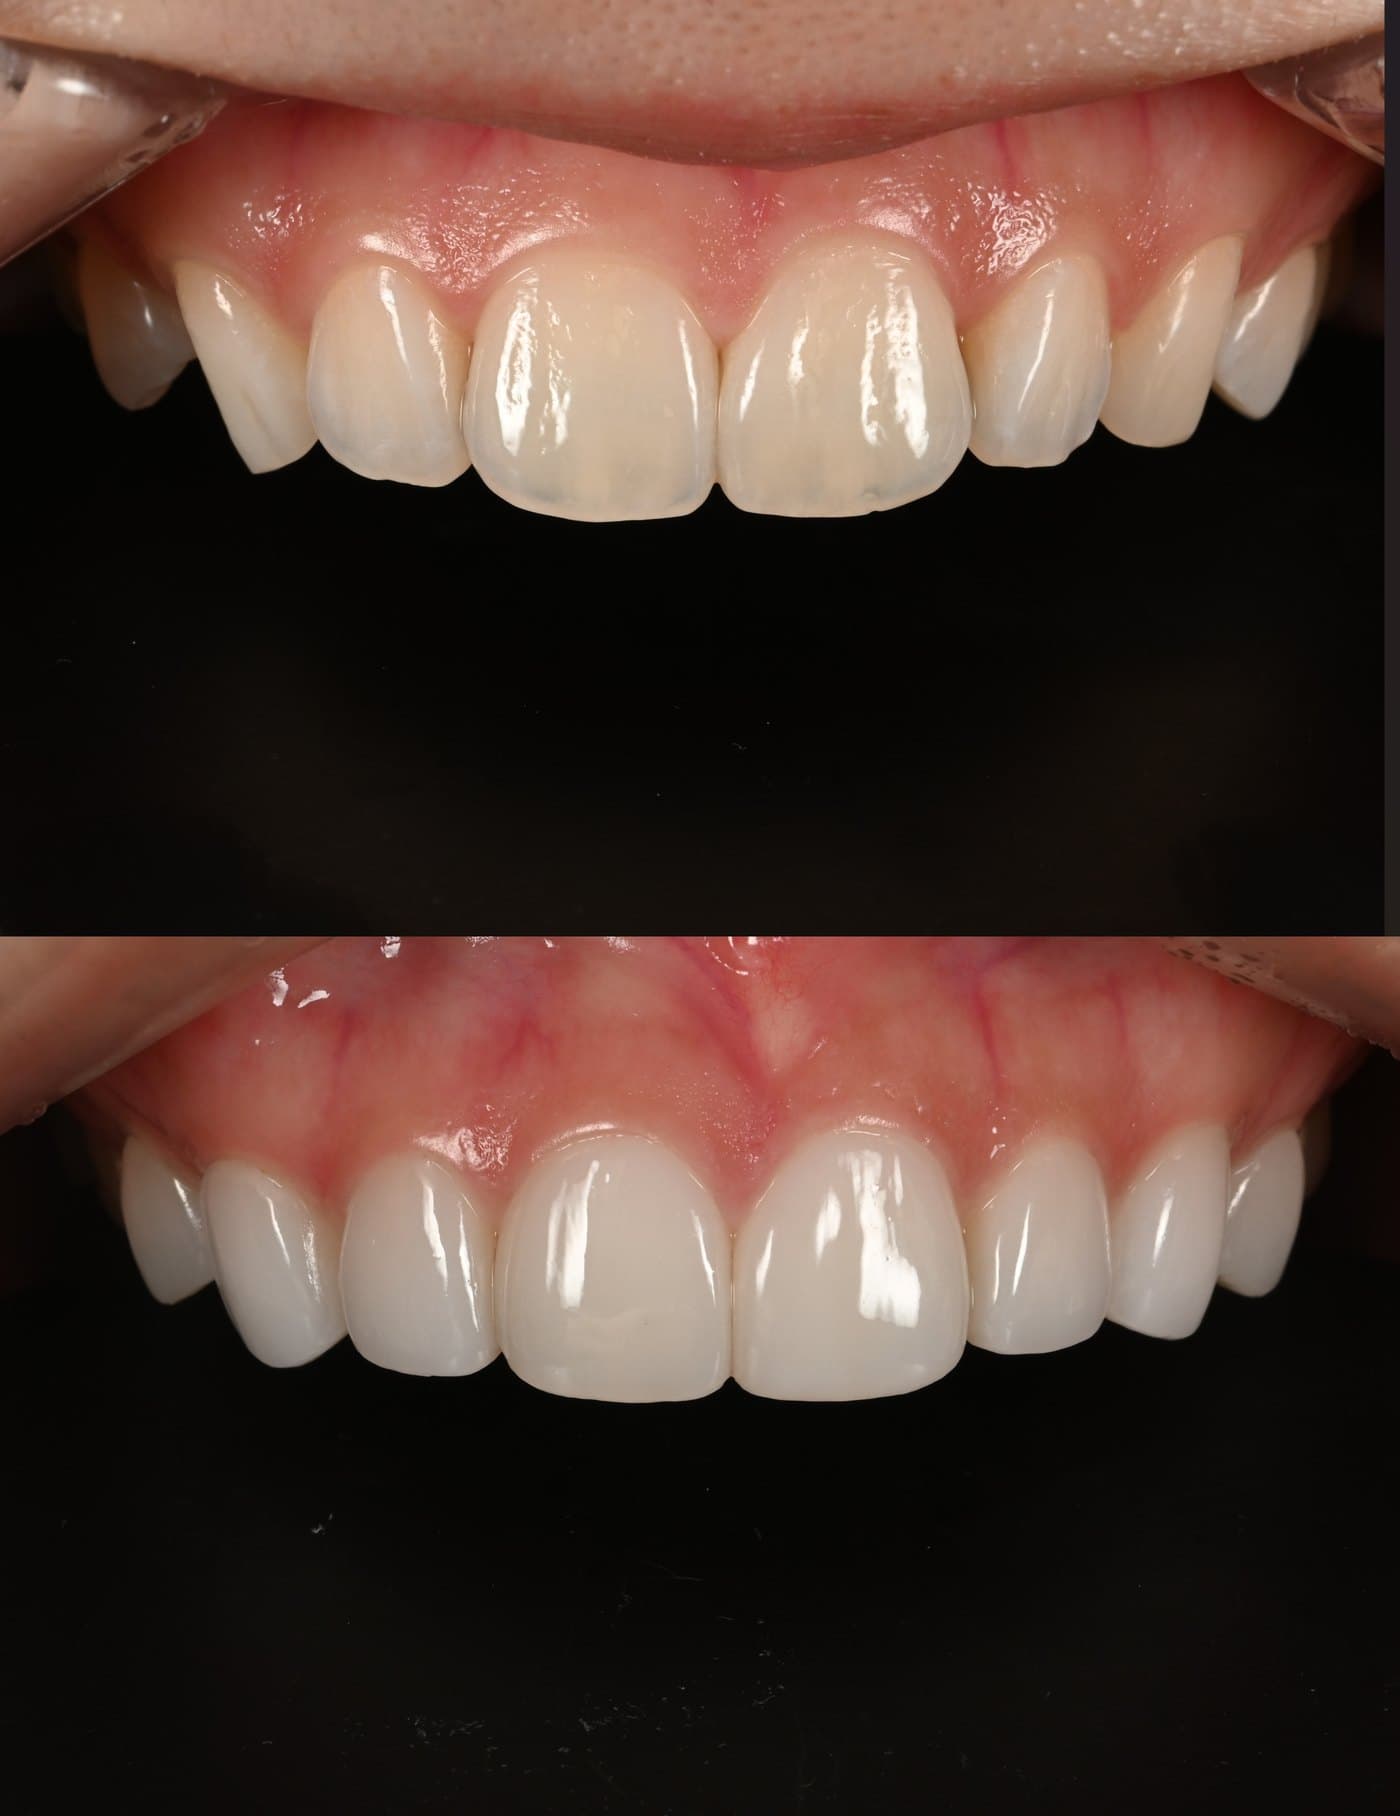
Case 2 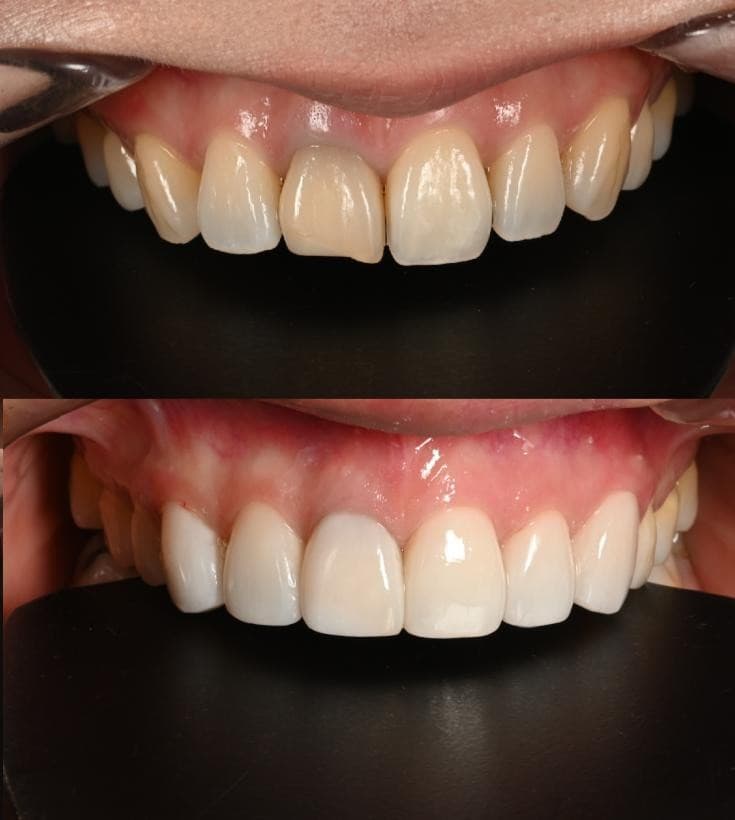
Case 3
Results vary with each patient's teeth and occlusion.
Designed for the face, not only the tooth.
The same tooth calls for a different design on a different face. LUMIS designs each veneer within the balance of the whole face.
- Facial midline
- The vertical reference through the nose, philtrum and chin.
- Interpupillary line
- The horizontal line joining the pupils, the reference for left and right balance.
- Dental midline
- The line between the upper central incisors, ideally matching the facial midline.
- Lip line
- The reference set by the upper lip when smiling.
- Smile arc
- The curve of the upper incisal edges, ideally following the lower lip.

Tell us about your clinic.
Send a message about your clinic or distribution region. We reply with case requirements, pricing and lead times.